The Ultimate Guide to Successful Used Car Acquisition
Buying a used car is a high-stakes transaction that demands a disciplined, step-by-step approach. While it offers a highly cost-effective path to reliable vehicle ownership, rushing the process or overlooking critical details can transform a bargain into a severe financial liability. Success in the used car market is defined by meticulous preparation, professional scrutiny, and scrupulous documentation.

I. Phase 1: Meticulous Pre-Purchase Research and Valuation
The journey begins long before you view the first car. Informed preparation sets the price ceiling, alerts you to potential defects, and arms you with negotiation leverage.
A. Model-Specific Deep Dive
Thorough research on the desired make and model is paramount. Use specialized consumer reports and automotive forums to identify the vehicle’s long-term reliability profile.
- Common Mechanical Issues: Look beyond user reviews. Search for “[Make Model Year] known problems” to discover manufacturer recalls, chronic transmission issues, or specific engine flaws (e.g., oil consumption, timing chain tensioner failures) that often emerge after 60,000 miles. This knowledge allows you to specifically scrutinize these areas during inspection.
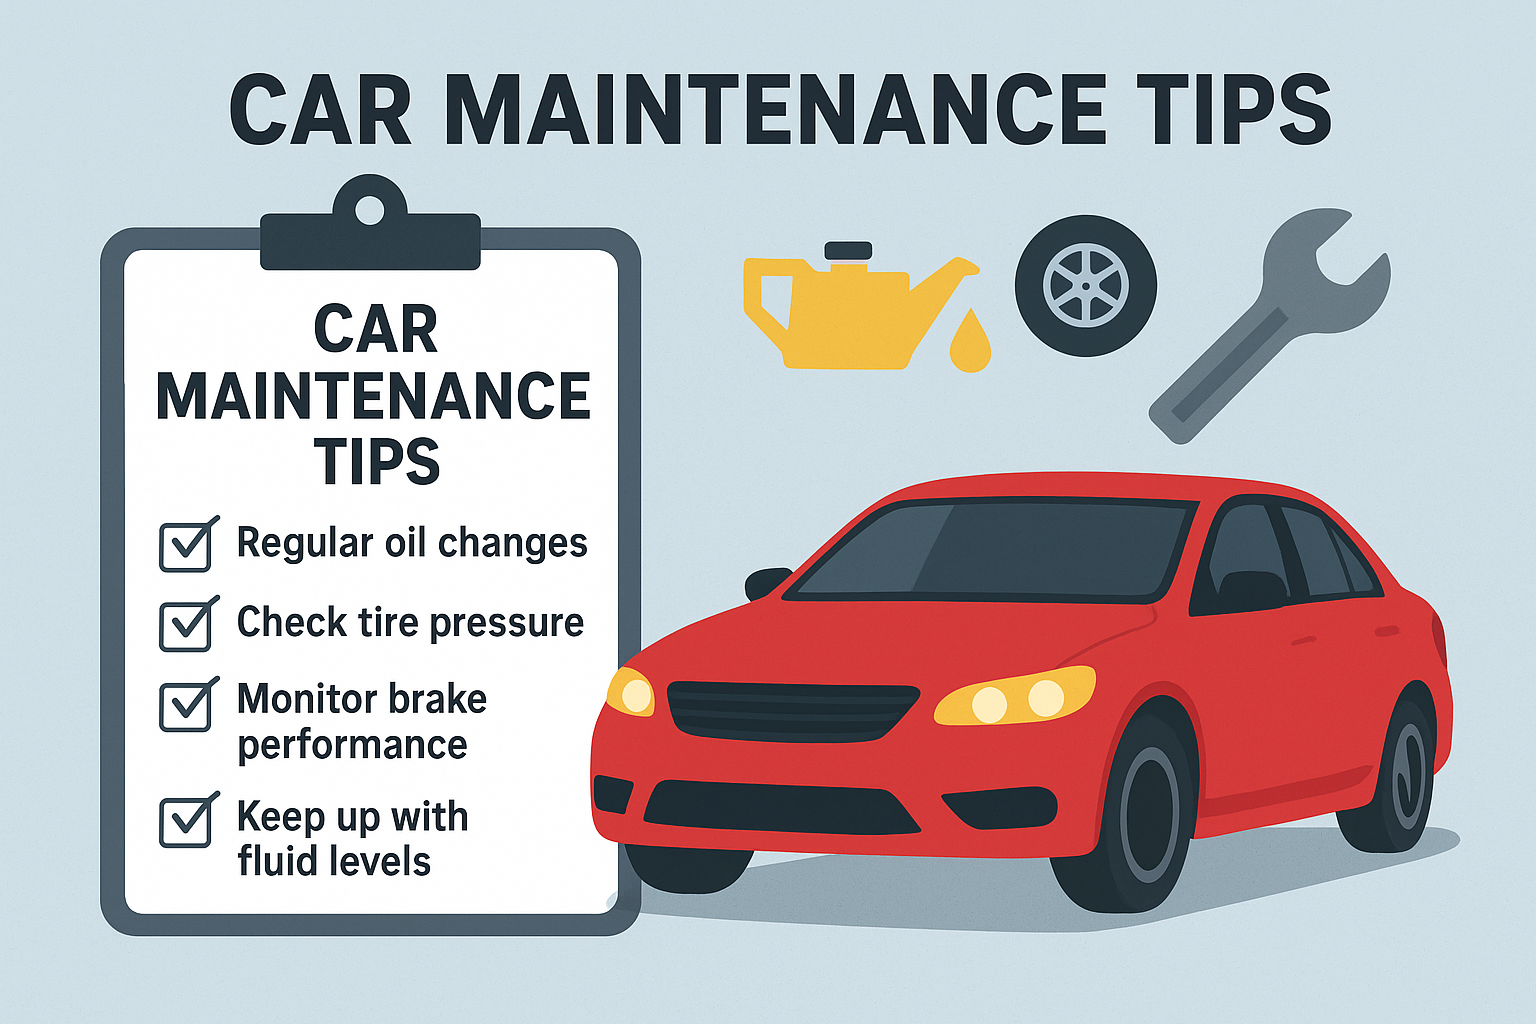
- Total Cost of Ownership (TCO): Evaluate long-term expenses, including insurance costs, maintenance schedules (e.g., timing belt replacement intervals), and average replacement costs for major components like transmissions, turbos, or sophisticated electronic modules. A low purchase price can be negated by high maintenance costs.
- Fuel Efficiency and Ratings: Verify the actual real-world fuel economy reported by owners, not just the optimistic EPA estimates.
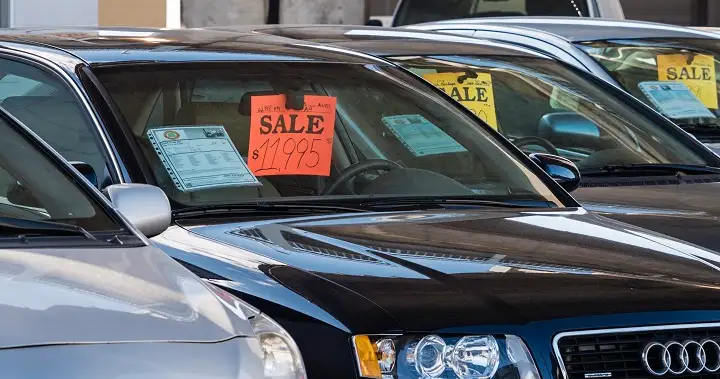
B. Market Valuation and Pricing Negotiation
Establish the car’s Fair Market Value (FMV) using multiple independent pricing guides (e.g., Kelley Blue Book, Edmunds, NADA).
- Adjust for Condition and Mileage: The FMV must be adjusted based on the specific car’s mileage, trim level, optional features, and condition. An “excellent” condition vehicle is rare; most used cars fall into the “good” or “fair” categories.
- Dealer vs. Private Seller: Understand that dealers build profit margins into their prices, which can include the cost of basic reconditioning. Private seller prices are generally lower but come with fewer consumer protections and a higher potential for hidden issues.
II. Phase 2: History Verification and Digital Forensics
The vehicle’s past is the best predictor of its future. Obtaining and decoding the vehicle history report is a non-negotiable step.
A. The Vehicle History Report (VHR)
Purchase a complete VHR from a reputable service (e.g., CarFax or AutoCheck) using the Vehicle Identification Number (VIN).
- Title Status and Accident Records: Look for signs of salvage, flood, or fire damage—these titles indicate severe compromise. Even “clean title” cars can have accident damage; review the severity and location of any reported accident and confirm subsequent repairs. Inconsistencies between a reported major repair and a “clean” VHR are a major red flag.
- Odometer Integrity: Check for any “Odometer Rollback” flags or major mileage discrepancies between reported service intervals.
- Service History Gaps: A continuous service history from a certified dealer or independent shop suggests diligent maintenance. Large, unexplained gaps in service records indicate deferred maintenance, which will quickly become your expense.
- Ownership and Geographical History: More owners generally mean more varied driving habits and maintenance quality. Check the car’s previous registration locations; a car that spent its life in a state with harsh winters (high road salt use) may have significant rust issues, even if it now resides elsewhere.
III. Phase 3: The Meticulous Physical and Mechanical Inspection
This phase requires patience, a keen eye, and an understanding of where sellers often conceal problems.
A. Exterior and Structural Inspection
- Paint and Body: Check for paint overspray, panel gap inconsistencies, or mismatched paint colors, which are definitive signs of accident repair. Run a magnet along the lower body panels—areas where the magnet doesn’t stick may indicate body filler (Bondo) over damage.
- Rust: Examine critical structural areas: rocker panels, wheel wells, and frame rails (especially near suspension mounting points). Surface rust is often manageable, but deep, flaking rust on structural components can total a vehicle.
- Tires: Check the tread depth and look for uneven wear patterns (e.g., wear on the inner or outer edges), which signal underlying steering or suspension alignment issues that can be costly to fix.
B. Interior and Systems Check
- Electronics and Accessories: Test every single function: radio, navigation, power windows, seat heaters, air conditioning (both hot and cold settings), and all internal and external lights. The failure of complex modern electronic modules can cost thousands.
- Smell and Upholstery: A heavy air freshener smell may mask mildew or smoke damage. Check under floor mats for signs of water infiltration or mold (indicative of a previous flood or persistent leak).
- Safety Systems: Ensure the Airbag light comes on briefly at startup and then turns off, verifying the system is operational.
C. Engine and Fluid Check
- Visual Leaks: Look under the hood for clean, new hoses/belts (potentially masking a recent failure) or residue of dried-up coolant or oil leaks.
- Engine Bay: A too clean engine bay can be a red flag, suggesting the seller washed off major oil or fluid leaks just before the inspection.
- Fluid Quality: Pull the dipstick. Oil should be amber to dark brown, not milky (head gasket issue) or gritty. Check the transmission fluid (if applicable); it should be a healthy red, not dark brown or smell burnt.
IV. Phase 4: The Test Drive and Professional Scrutiny
The test drive must be systematic, followed by an independent mechanic’s inspection.
A. The Comprehensive Test Drive
Drive the car on a variety of road surfaces and speeds, simulating normal driving conditions.
- Engine and Transmission: Listen for unusual sounds during startup (e.g., metal tapping, prolonged grinding). Note how the transmission shifts: it should be smooth, with no hesitation, clunking, or searching for gears, especially under hard acceleration.
- Braking and Suspension: Perform a low-speed stop and a moderate-speed, hard stop. The car should stop straight without pulling to one side (caliper/hose issue) or exhibiting excessive pedal pulsation (warped rotors). Drive over bumps to test the suspension; excessive bouncing or loud creaking/clunking indicates worn shocks or bushings.
- Steering: Test the steering at low speeds in a parking lot. Listen for power steering pump whine. On the highway, ensure the car tracks straight without needing constant correction.
B. The Pre-Purchase Inspection (PPI)
This step is non-negotiable and offers the greatest return on investment. Hire an independent, trusted mechanic (not one affiliated with the seller) to perform a PPI.
- What a PPI Uncovers: The mechanic will put the car on a lift to inspect the undercarriage for frame damage, exhaust leaks, hidden rust, and suspension component wear. They will also run diagnostic tests (OBD-II reader) to detect any fault codes that may have been temporarily cleared by the seller.
- Cost and Negotiation: A PPI typically costs $100-$250. The resulting report provides the concrete evidence needed for negotiation. If the mechanic finds $1,500 worth of necessary repairs (e.g., worn brakes, timing belt due), you can use this figure to negotiate the price down, potentially saving thousands.
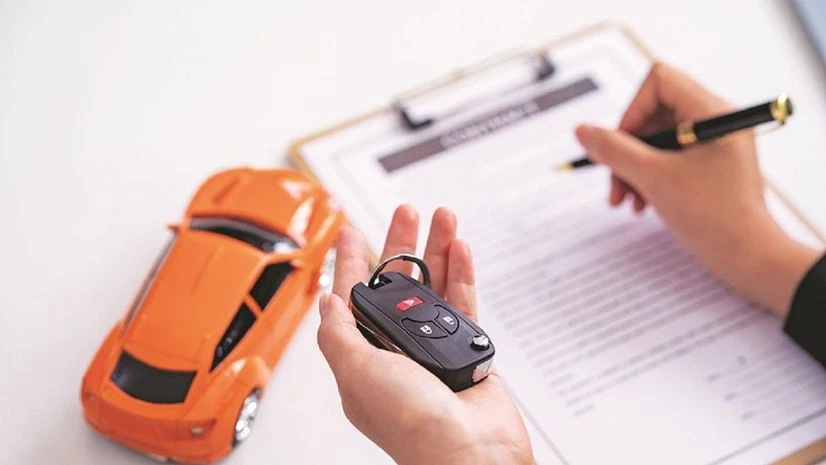
V. Phase 5: Documentation, Legal Compliance, and Finalizing the Sale
The financial transaction is the final hurdle, and proper documentation is the buyer’s defense against future legal issues.
A. Legal and Financial Documentation
- Title (Certificate of Ownership): Ensure the seller’s name exactly matches the name on the title. Verify that the title is free and clear of all liens (a “clear title”). If a lien is present, insist that the transaction take place at the lienholder’s bank to ensure the debt is settled and the title is immediately released to you.
- Bill of Sale: A detailed Bill of Sale documenting the VIN, mileage, sale price, date, and “as-is” condition is vital. Both parties should sign and date it.
- Warranties: If purchased from a dealer, understand the specific terms of any implied or limited warranty. For private sales, nearly all are sold “as-is, where-is.”